


Hi, I'm Masato, a Webflow specialist. This article covers:
- Embedding Instagram in Webflow
- Making the embedded feed auto-update
There are two routes to an auto-updating feed:
- Custom code
- The Webflow CMS
I recommend #1 — it's simple, free, and more flexible. Let's build it that way.
[Copy-paste ready] Auto-updating Instagram in Webflow
- [STEP 1] Convert Instagram to a professional account
- [STEP 2] Link a Facebook account
- [STEP 3] Log into Facebook for Developers and obtain the credentials
- [STEP 4] Extend the Instagram access token
- [STEP 5] Add the feed-loading JS to Webflow
- [STEP 6] Build the photo display area in Webflow
Note: Webflow can't run PHP, so we use JavaScript.
The final Webflow step looks like "just publish" — but it hides a big pitfall, which I'll show you how to dodge from experience.
[steps 1–2] Professional account + Facebook link
Switch to a professional account in Instagram's settings and link your Facebook page (Meta's official flow walks you through it).
[STEP 3] Obtain credentials at Facebook for Developers
The permissions I used:
- pages_show_list
- business_management
- instagram_basic
- instagram_manage_comments
- instagram_manage_insights
- pages_read_engagement
- pages_manage_posts
[STEP 4] Extend the access token
Obtain a never-expiring access token (the Graph API long-lived token flow), and grab your Instagram professional account ID at the same time.
Confirm you've noted both:
- Instagram professional account ID
- Access token (expiry: unlimited)
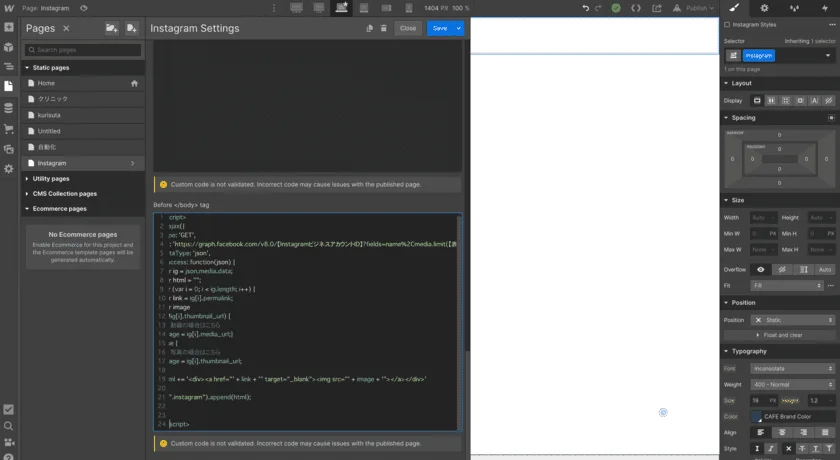
[STEP 5] Add the feed-loading JS to Webflow
Add JS that calls the Instagram Graph API, filling in the credentials you obtained. The original walkthrough borrows its script from two Japanese reference articles — toriton.link and navymobile.co.jp — either of which you can paste as-is.
Crucially: the JS must go in the page's settings under Before </body> tag.
[STEP 6] Build the photo display area
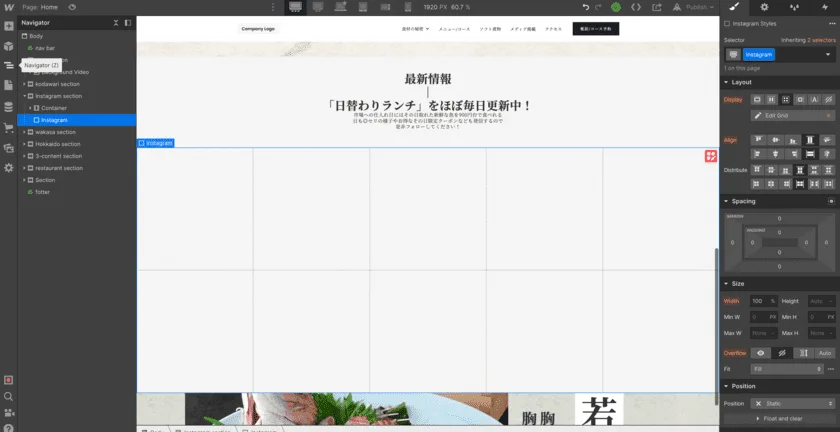
The JS loads images into a specified HTML element — so add a Div in Webflow and give it the class name the JS expects.
In Webflow
Add a Div block with the class name your JS targets — insta_list for the toriton script, Instagram for the navymobile one
Where the code goes
Page settings → Before </body> tag. The JS won't work anywhere else.
Changing layout without touching the code
Handle layout entirely through the parent element: set the parent to Grid and size a single cell.
Simple, obvious — and my favorite approach, because the finished design is easy to visualize right inside Webflow.
Summary
Demand for Instagram embeds will only grow — learn the method now.
We also take on Webflow production work — questions and requests welcome via the form.
Frequently asked questions
Can I embed Instagram in Webflow for free?
Yes — the custom-code route is completely free. Of the two auto-update routes, custom code is the simple, free, flexible one.
What about the Instagram access token's expiry?
Obtain a never-expiring token via the Graph API long-lived token flow, grabbing your Instagram professional account ID at the same time.
What do I build in Webflow to display the photos?
The JS auto-loads images into a specified element, so add a Div block with the class name the JS targets.